Last Minute Gadget Gifts for the DIYer in Your Life

Finding the perfect last minute gift for the DIY enthusiast in your life doesn’t have to be a challenge. Whether they’re into home automation, 3D printing, or tinkering with electronics, these last-minute gadget gifts are sure to impress. Best of all, they’re readily available online—just add to your cart and check out!


1. Raspberry Pi Starter Kit
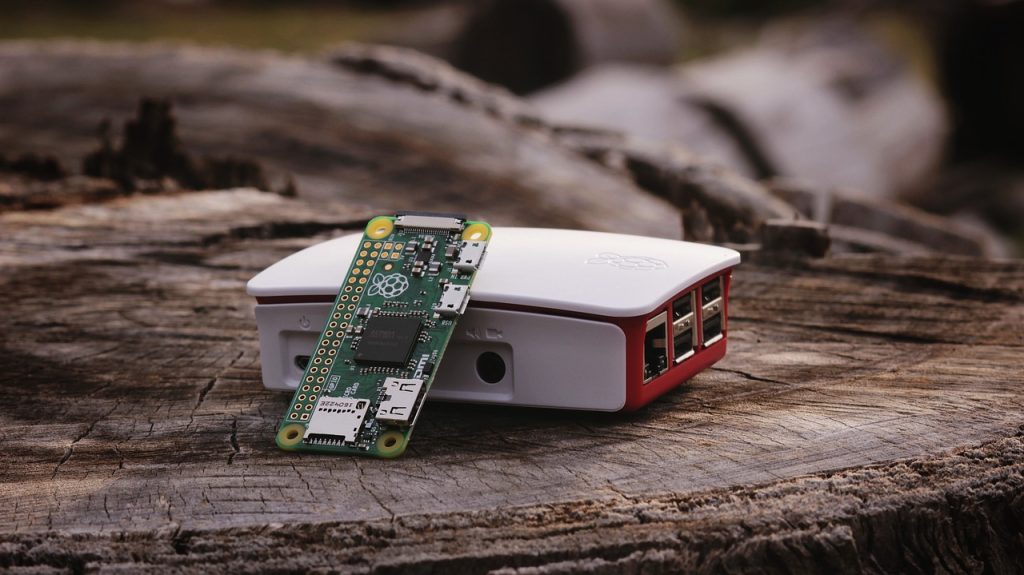
Raspberry Pi Starter Kit

A Raspberry Pi is the ultimate tool for DIYers who love creating custom projects. From building a media server to automating a home, the possibilities are endless. A starter kit includes the essentials like a Pi board, case, power supply, and SD card, making it the perfect introduction to this versatile gadget.

Raspberry Pi Starter Kit – Amazon


2. Digital Calipers
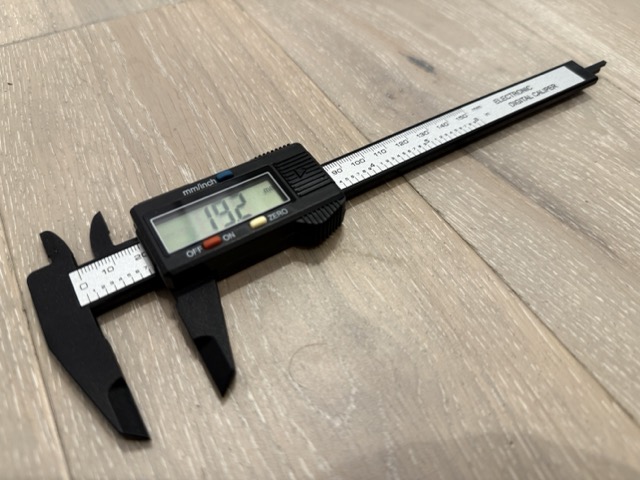
Digital calipers

Accurate measurements are a must for any DIY project, especially for 3D printing or woodworking. Digital calipers make it easy to measure with precision, ensuring every part of a project fits perfectly. Look for a model with a clear display and durable construction.

Digital Calipers – Amazon


3. Smart Plug

A smart plug is a small but powerful gift that lets the recipient control their devices with their phone or voice. Ideal for the DIYer dabbling in home automation, these plugs can turn lights, coffee makers, and even soldering irons into smart devices.

Meross Smart Plugs – Amazon


4. Soldering Kit

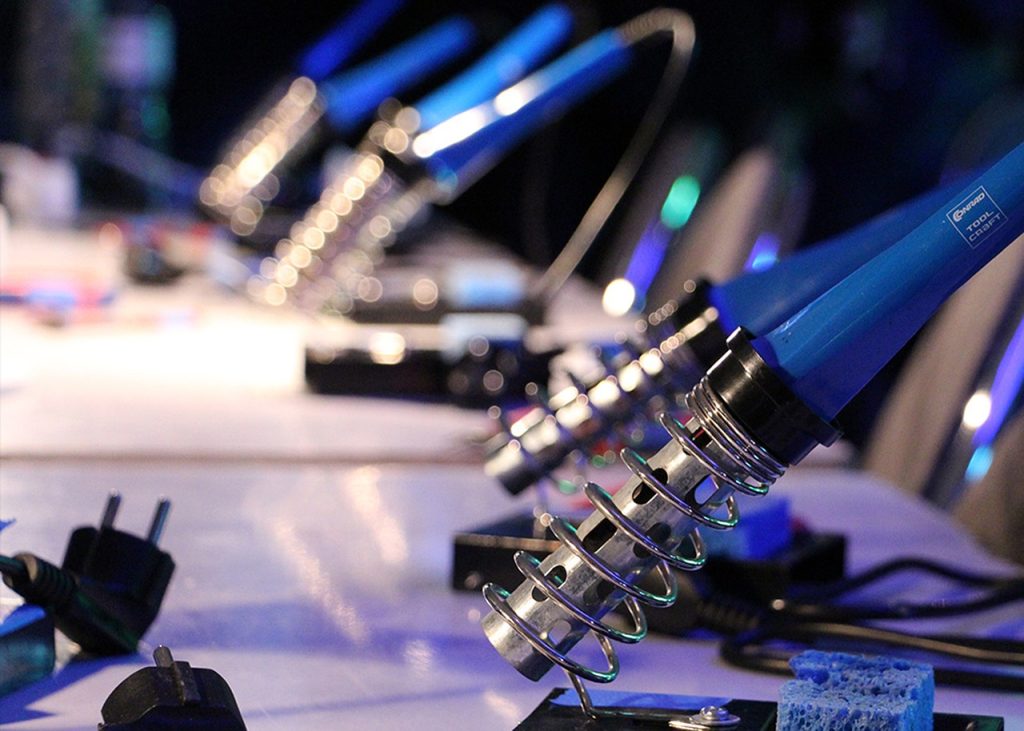
Soldering iron kit

For the DIYer who loves working with electronics, a complete soldering kit is a must-have. Kits often include a soldering iron, stand, solder wire, and even a desoldering pump for fixing mistakes. Choose one with adjustable temperature settings for better control.

Soldering Iron Kit – Amazon


5. 3D Printer Filament Variety Pack

If your loved one owns a 3D printer, they’ll always appreciate more filament. A variety pack with different colors or materials (like PLA, PETG, or flexible TPU) can inspire their next big project and ensure they’re never out of supplies.

6 Spools of 3D Filament – Amazon


6. Multi-Bit Screwdriver Set
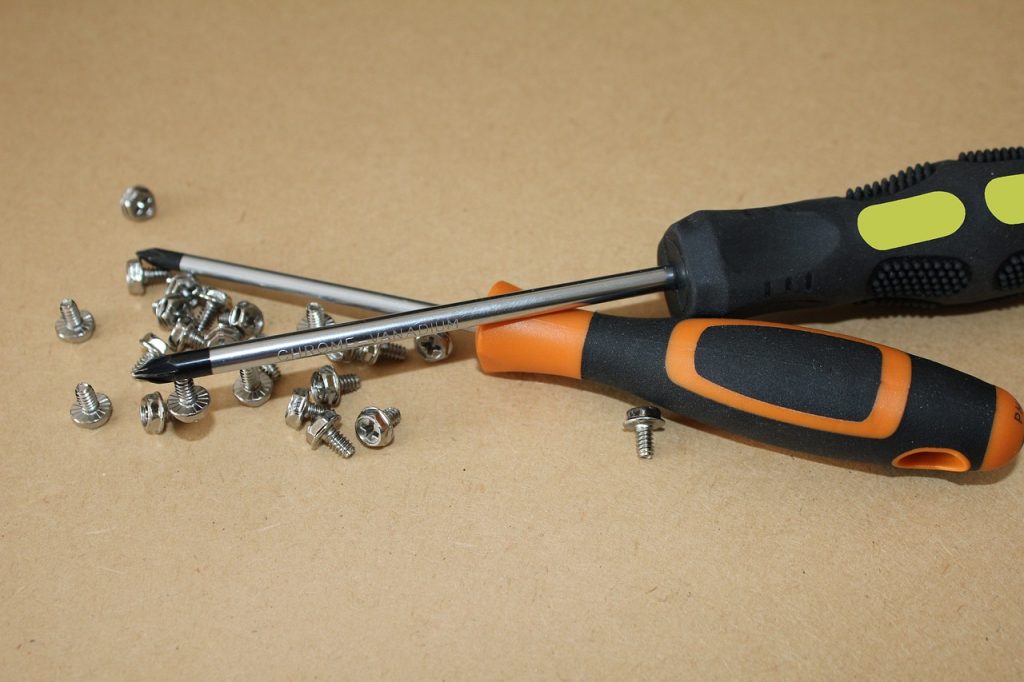
Multi bit screwdriver set

A high-quality multi-bit screwdriver set is a practical and thoughtful gift. It’s perfect for assembling furniture, repairing gadgets, or even building robots. Look for a set with magnetic tips and an ergonomic handle for extra convenience.

Screwdriver Set – Amazon


7. Arduino Kit

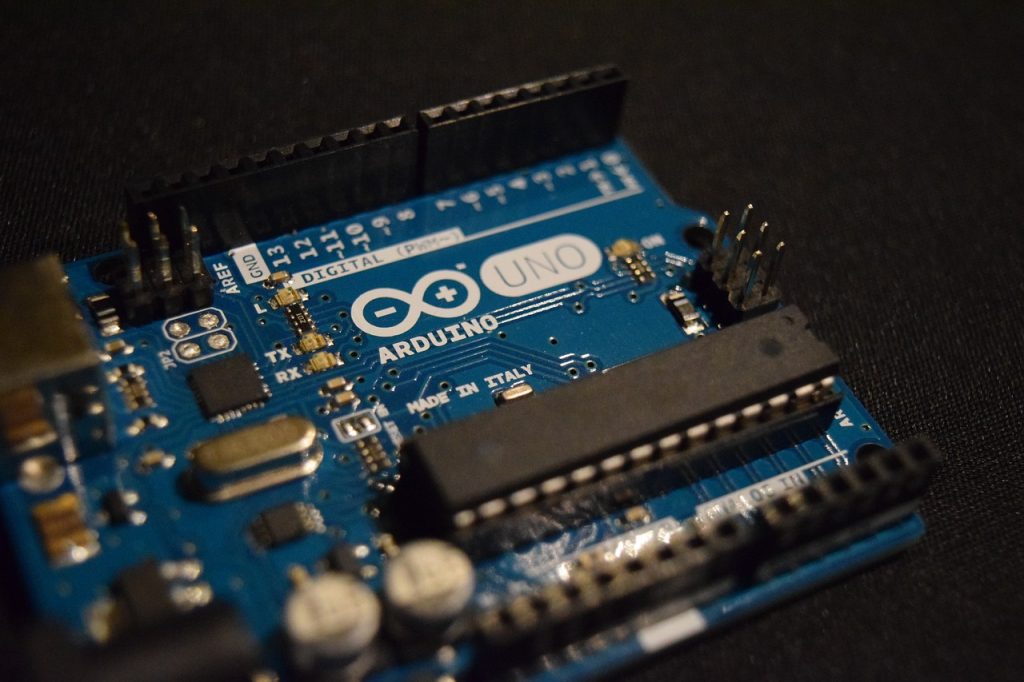
Arduino Kit

For DIYers who love coding and electronics, an Arduino kit offers hours of fun. These kits come with everything needed to create projects like automated lights, sensors, or even robots. Make sure to include a beginner-friendly guide to help them get started.

Arduino Kit – Amazon


8. Magnetic Wristband

A magnetic wristband is a simple yet incredibly useful gift for any DIYer. It keeps screws, nails, and small tools within reach while they work, saving time and reducing frustration. This affordable gadget is perfect for stocking stuffers.

Magnetic Wristband – Amazon


9. Portable Power Bank

DIYers on the go will appreciate a reliable portable power bank. It’s ideal for charging tools, phones, or other gadgets during outdoor projects or when working in areas without power outlets. Choose one with high capacity and fast charging capabilities.

Portable Power Bank – Amazon


10. Laser Distance Measurer

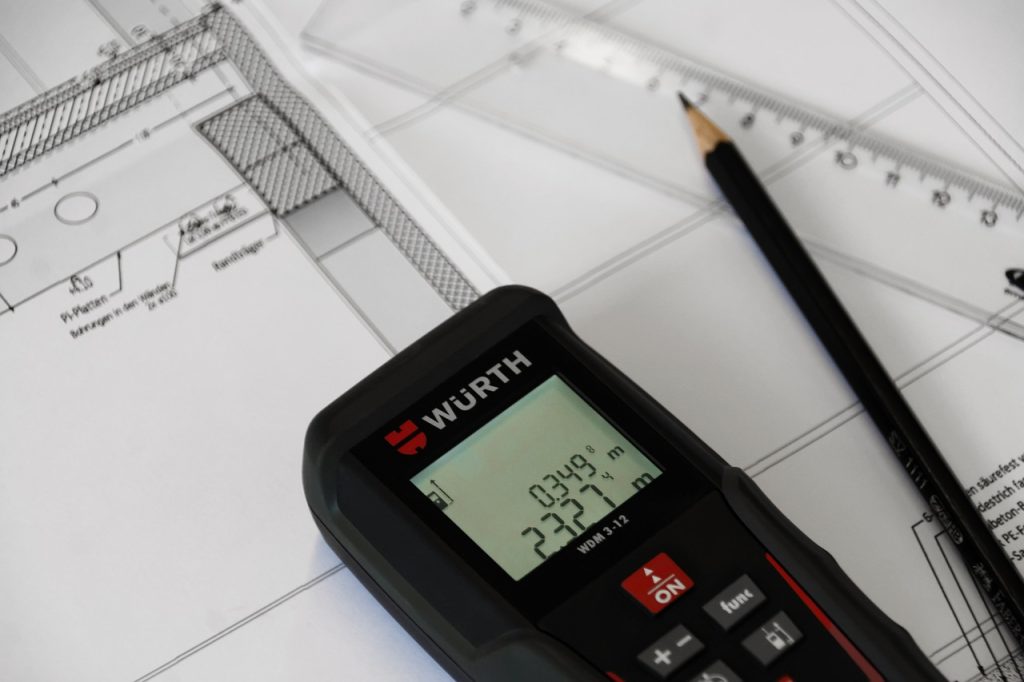
Laser distance measurer in use

For DIYers who need accurate measurements, a laser distance measurer is a high-tech upgrade from the traditional tape measure. It’s especially useful for home improvement projects, ensuring precision when measuring rooms, furniture, or layouts.

Laser Distance Measurer – Amazon


Final Thoughts

DIYers love gadgets that make their projects easier, more efficient, or just more fun. These last-minute gift ideas are practical, thoughtful, and sure to impress. Which one will you choose for the DIYer in your life? Let us know in the comments below!

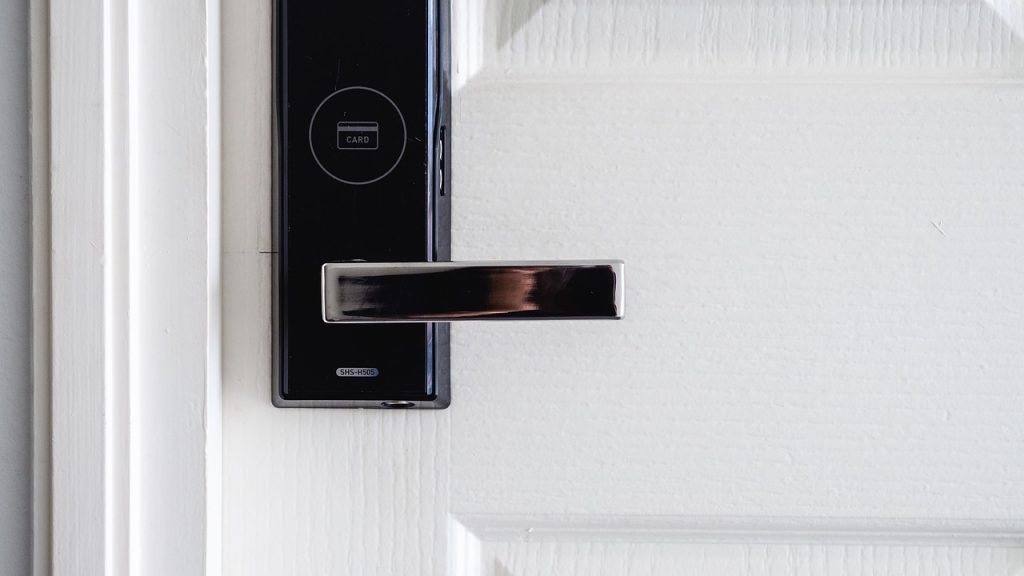
Top 5 Affordable Smart Locks Compared

Smart locks are revolutionizing home security, offering convenience and peace of mind without breaking the bank. If you’re looking to upgrade your home’s security system on a budget, here are five affordable smart locks compared to help you make the right choice.


1. Wyze Lock

Price: ~$120
Key Features:

  • Easy Installation: Works with your existing deadbolt, so there’s no need to replace your keys.
  • Auto-Lock and Unlock: Detects when you arrive and locks automatically when you leave.
  • App Control: Manage access, view lock history, and get notifications through the Wyze app.

Why It’s Great: The Wyze Lock is a fantastic budget option with robust app integration and seamless operation. It’s perfect for renters and homeowners alike.

Considerations: Requires the Wyze Gateway hub for operation.


2. August Smart Lock (3rd Gen)

Price: ~$150
Key Features:

  • Retrofit Design: Fits over most existing deadbolts for a simple installation process.
  • Voice Control: Works with Alexa, Google Assistant, and Siri.
  • Guest Access: Easily share temporary or recurring access codes.

Why It’s Great: With its premium features and sleek design, the August Smart Lock punches above its price point.

Considerations: Doesn’t include a keypad (sold separately).


3. Level Bolt Smart Lock

Price: ~$199
Key Features:

  • Invisible Design: Installs inside your door, keeping your lock’s original look.
  • Durable Build: Made from high-quality materials to ensure long-lasting security.
  • Smartphone Access: Lock and unlock your door from anywhere using the Level app.

Why It’s Great: The Level Bolt is ideal for those who want smart lock functionality without altering their door’s appearance.

Considerations: Requires basic handyman skills for installation.


4. Yale Assure Lock SL

Price: ~$180
Key Features:

  • Key-Free Design: A sleek, modern lock with a touchscreen keypad.
  • Z-Wave Compatible: Works with smart home hubs like Samsung SmartThings.
  • Battery Backup: Includes a 9V battery terminal for emergency power.

Why It’s Great: With its advanced features and reliable performance, the Yale Assure Lock SL is perfect for smart home enthusiasts.

Considerations: Requires a separate hub for Wi-Fi connectivity.


5. Schlage Encode Smart Wi-Fi Deadbolt

Price: ~$250
Key Features:

  • Built-In Wi-Fi: Doesn’t require an external hub to connect to your network.
  • High Security: ANSI Grade 1 rating, the highest residential security standard.
  • Customizable Codes: Store up to 100 unique access codes for family and guests.

Why It’s Great: The Schlage Encode offers a balance of affordability, security, and convenience with its standalone Wi-Fi capability.

Considerations: Slightly higher price point compared to other budget options.


Conclusion

Each of these affordable smart locks offers unique benefits, whether you’re looking for convenience, style, or robust security.

  • Best for Beginners: Wyze Lock.
  • Most Feature-Packed: Schlage Encode.
  • Sleek and Invisible: Level Bolt.

Investing in a smart lock is a small step toward a smarter, safer home. Which one fits your needs? Let us know in the comments below!
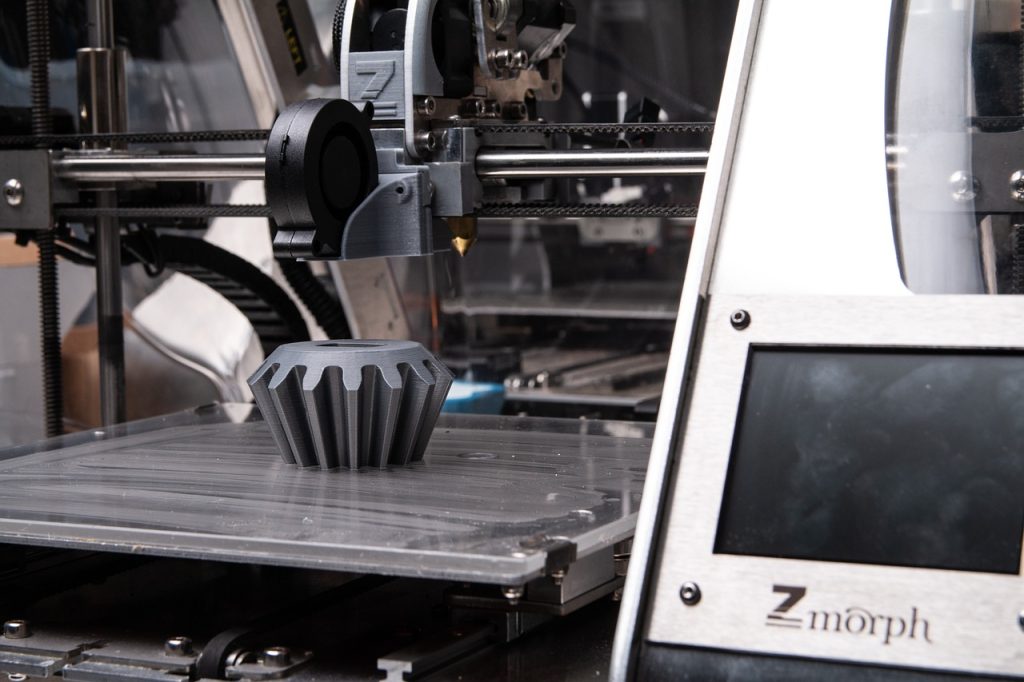
Top 10 3D Printing Mistakes Beginners Make (And How to Avoid Them)

Diving into 3D printing is exciting, but it can also come with its fair share of challenges. Beginners often face common pitfalls that can lead to wasted time, filament, and frustration. Here are the top 10 mistakes new makers make—and how you can avoid them to achieve better prints from the start.


1. Skipping Bed Leveling

An unlevel bed is one of the most common causes of failed prints.

How to Avoid It:

  • Always level the bed before starting a print.
  • Use a piece of paper or a feeler gauge to ensure the nozzle is just the right distance from the bed.
  • Consider upgrading to an auto-bed-leveling sensor if your printer supports it.

2. Ignoring First Layer Adhesion

The first layer sets the foundation for the entire print. Poor adhesion leads to prints detaching mid-job.

How to Avoid It:

  • Clean the build plate with isopropyl alcohol to remove dust and grease.
  • Use adhesives like glue sticks, painter’s tape, or PEI sheets for better grip.
  • Check your slicer settings to ensure the first layer height and speed are optimized.

3. Using the Wrong Print Settings

Default slicer settings might not be ideal for every project.

How to Avoid It:

  • Adjust layer height, infill, and print speed based on your model’s needs.
  • Experiment with different settings on small test prints before committing to large jobs.
  • Research recommended settings for your specific filament type.

4. Not Calibrating the Printer

Poor calibration results in dimensional inaccuracies and subpar print quality.

How to Avoid It:

  • Calibrate your printer’s extruder, axis steps, and flow rate regularly.
  • Print calibration tests like the “XYZ calibration cube” to verify accuracy.
  • Use tools like digital calipers to measure and adjust accordingly.

5. Ignoring Filament Quality

Cheap or improperly stored filament can ruin prints.

How to Avoid It:

  • Invest in reputable filament brands.
  • Store filament in a dry, sealed container with silica gel packs to prevent moisture absorption.
  • Use a filament dryer if your material has been exposed to high humidity.

6. Overlooking Supports

Not adding supports when needed can cause drooping or failed overhangs.

How to Avoid It:

  • Use your slicer’s “preview” mode to identify areas that need supports.
  • Experiment with different support settings (e.g., grid vs. tree supports).
  • Remove supports carefully to avoid damaging your model.

7. Printing Too Fast

High speeds can cause under-extrusion, layer shifting, and poor print quality.

How to Avoid It:

  • Start with moderate speeds (50-60 mm/s) and adjust based on results.
  • Reduce speed for intricate models or when printing with flexible materials.

8. Neglecting Nozzle Maintenance

A clogged or dirty nozzle can disrupt prints and waste filament.

How to Avoid It:

  • Clean the nozzle regularly with cleaning filament or a needle.
  • Replace the nozzle if wear or clogs persist.
  • Avoid switching filament types without properly purging the extruder.

9. Underestimating the Importance of Cooling

Insufficient cooling can lead to stringing, sagging, or poor layer adhesion.

How to Avoid It:

  • Ensure your printer’s cooling fan is working correctly.
  • Adjust cooling settings in your slicer based on the filament (e.g., PLA requires more cooling, while ABS benefits from less).
  • Use a fan shroud for better airflow distribution.

10. Not Reading the Manual

Many issues arise from skipping the printer’s user manual.

How to Avoid It:

  • Read the manual to understand your printer’s specific features and setup instructions.
  • Join online communities or forums for advice on your specific printer model.
  • Watch tutorials to learn tips and tricks for optimizing your workflow.

Conclusion

Mistakes are a natural part of learning, but being aware of these common pitfalls can help you avoid unnecessary frustration. With a bit of patience, practice, and the right knowledge, you’ll be creating high-quality prints in no time.

Do you have a favorite 3D printing tip? Share it in the comments below—we’d love to hear from you!

5 Must-Have 3D Printing Tools

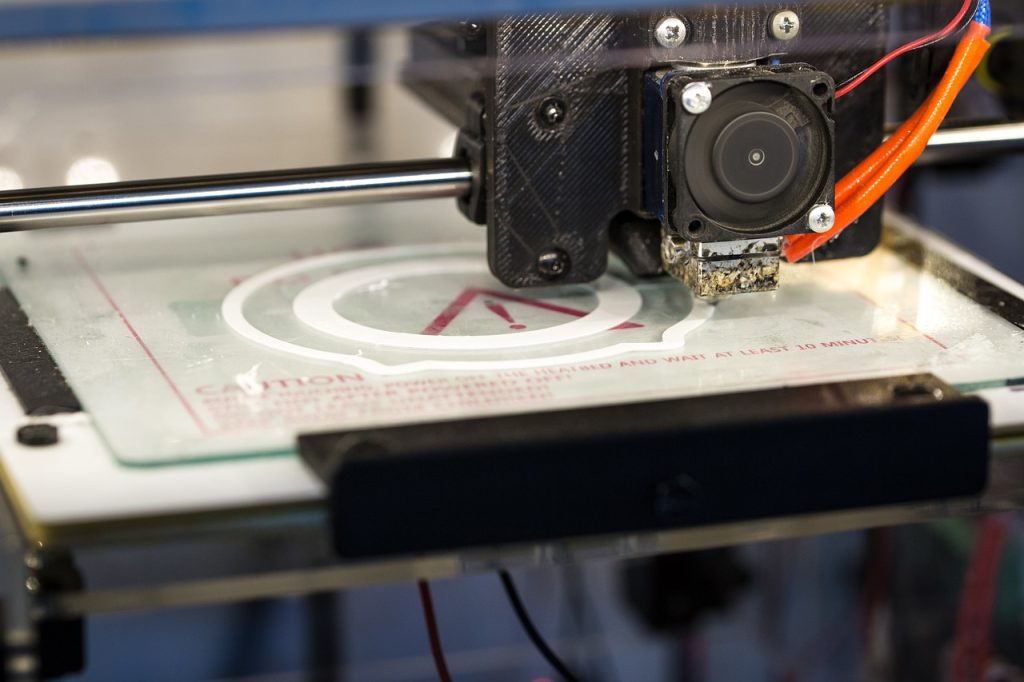
3D printer printing a part for home automation

3D printing opens up a world of creativity and innovation, but having the right tools at your side makes the process smoother and more enjoyable. Whether you’re a beginner or a seasoned maker, these five must-have tools will elevate your 3D printing game.

1. Digital Calipers

Precision is key in 3D printing. Digital calipers help you measure your designs and ensure they fit perfectly with other components. From verifying dimensions to troubleshooting tolerance issues, calipers are an essential tool for creating accurate prints.

Features to Look For:

  • Large digital display for easy reading.
  • Metric and imperial unit conversions.
  • High accuracy (0.01 mm or better).

2. Nozzle Cleaning Kit

A clogged nozzle can halt your project in its tracks. A nozzle cleaning kit, which typically includes small needles and brushes, ensures your printer’s extruder remains in top condition.

Pro Tip:

Use these tools with care to avoid damaging your printer. Heat the nozzle before cleaning for easier removal of debris.

3. Spatula or Print Removal Tool

Removing prints from the build plate can be tricky without damaging them. A flexible spatula or scraper helps lift your creations with ease, ensuring clean removal without leaving marks on the print surface.

Recommendations:

  • Opt for a spatula with a tapered edge.
  • Consider models with a comfortable handle for better grip.

4. Deburring Tool

After printing, you may notice rough edges or seams on your model. A deburring tool is perfect for smoothing out imperfections and giving your prints a polished look.

How to Use:

  • Run the blade along the edges gently.
  • Focus on corners and overhangs for the best results.

5. Filament Storage Solutions

Humidity can degrade filament quality, leading to brittle or inconsistent prints. A filament storage box or vacuum-sealed bags keep your materials dry and ready for use.

Bonus Tip:

Include silica gel packs in your storage container to absorb excess moisture and prolong filament lifespan.


Conclusion

Equipping yourself with these five tools will save you time and frustration while enhancing the quality of your 3D printing projects. Ready to dive into your next creation? With these tools by your side, the possibilities are endless!


Do you have a favorite 3D printing tool or tip? Share it with us in the comments below!